Bare Concrete
Best SurfaceThis system is designed to bond to properly prepared concrete. The concrete must be clean, dry, sound, and mechanically ground or shot blasted.


“DIY project in my basement workshop. Wasn't sure I could pull it off but the instructions were clear and turned out easier than expected.”
Fast 3–5 Business Day Delivery Direct To Site
Mixed Fresh in the USA - Guaranteed to Perform
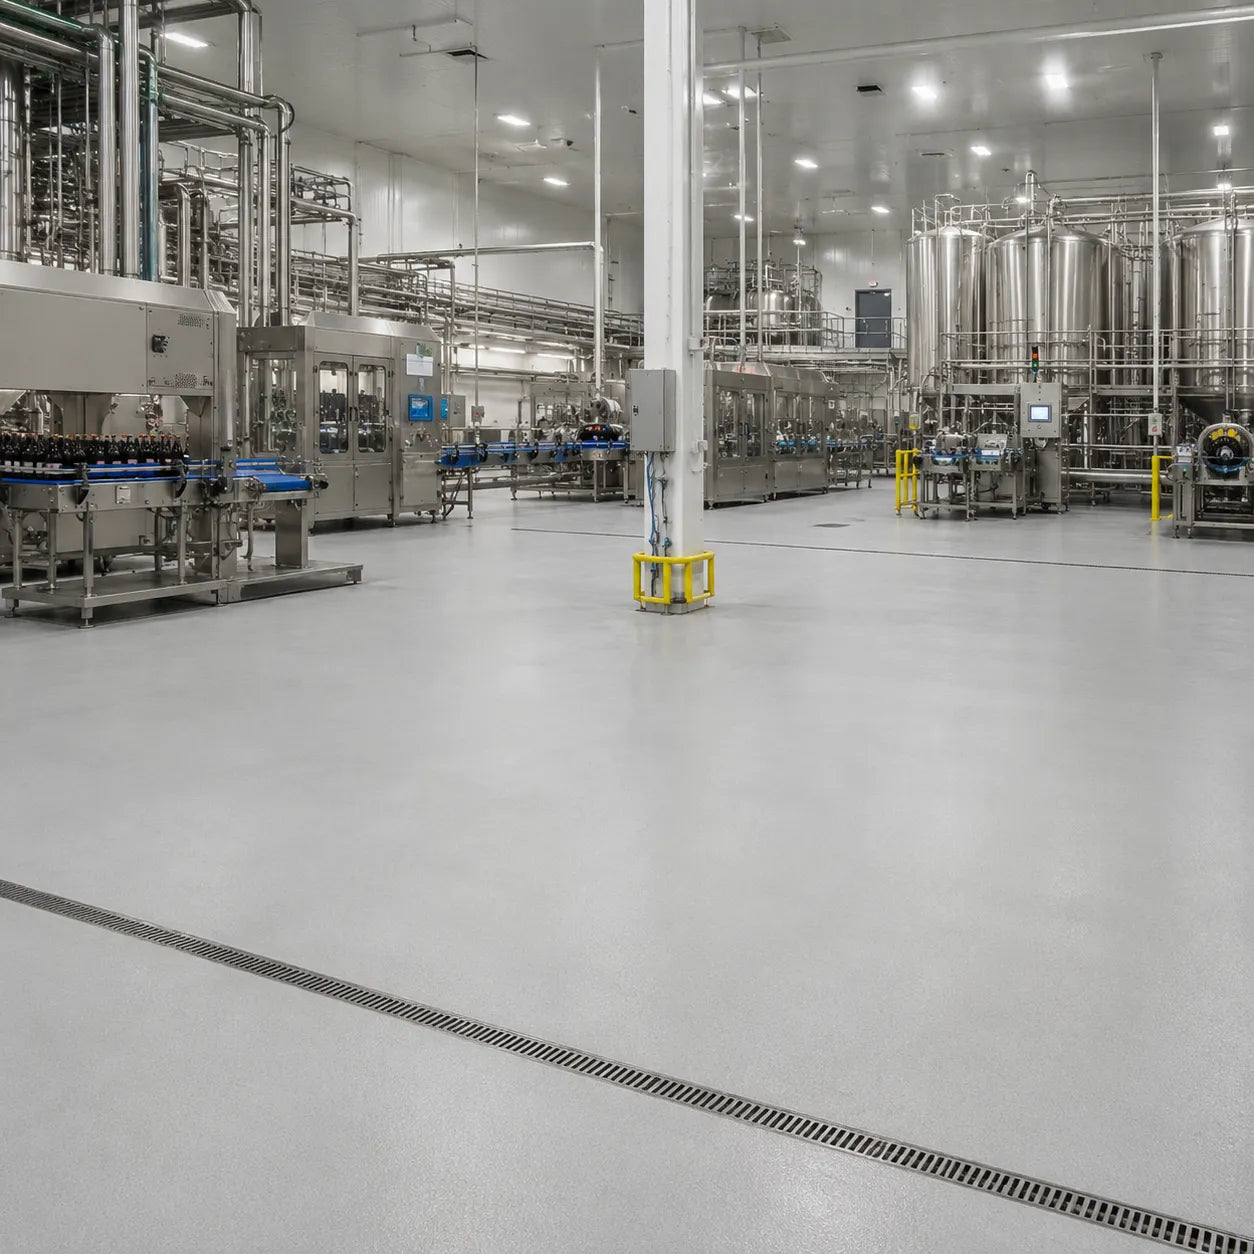
Dymond SolidCor 237™ is a heavy-duty, bio-based urethane cement flooring system designed for demanding commercial and industrial environments. Its pourable slurry formulation delivers outstanding wear performance together with resistance to thermal shock, impact, abrasion and chemical exposure.
SolidCor 237 can withstand higher heat exposure than typical unmodified urethanes and is particularly well suited to hot washdown areas. Recommended applications include commercial kitchens, food preparation areas, food and beverage facilities, restrooms and locker rooms.
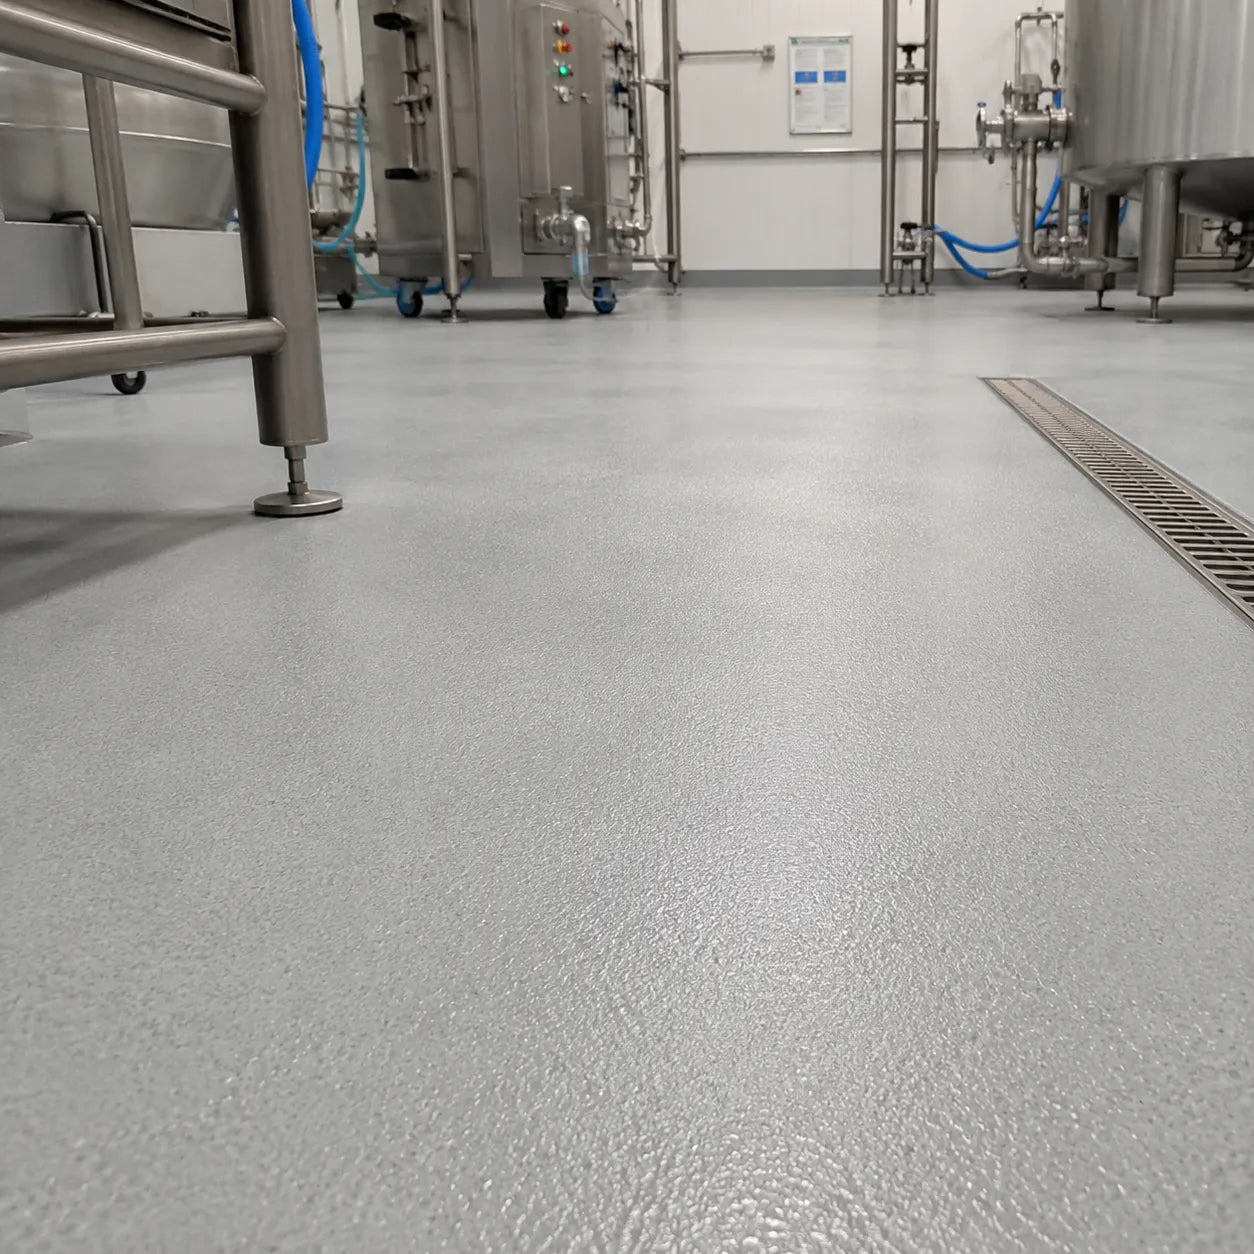
The premeasured multi-component system is spread using a cam rake and backrolled with a spike roller. Aggregate or decorative flakes can then be broadcast into the wet slurry to create a durable, seamless and hygienic floor with no grout lines.
SolidCor 237 is formulated for floors exposed to demanding operating conditions. Compared with typical unmodified urethanes, it can withstand higher heat exposure and provides good thermal shock capabilities, making it a suitable choice for hot washdown environments.
The system also withstands moderate impact, abrasion and chemical exposure. Its seamless construction eliminates grout lines where dirt and contaminants can collect, helping to create a durable and hygienic surface for commercial kitchens and food and beverage facilities.
SolidCor 237 has been tested against a range of food-related substances and industrial chemicals. Spot testing showed no physical damage from mustard, ketchup, lactic acid, vinegar or lemon juice.
The product also passed 24-hour immersion testing with 10% acetic acid, 30% nitric acid, 50% sodium hydroxide, 30% sulfuric acid and xylene. Chemical mixtures and exposure to chemicals at elevated temperatures should always be evaluated before installation.
SolidCor 237 is normally installed directly onto properly prepared concrete without a primer. If concrete outgassing occurs during application, installation should be stopped and a suitable primer applied before continuing.
Immediately after mixing, the pourable slurry is spread to the required thickness using a cam rake or other suitable equipment. It is then backrolled with a spike roller to settle the aggregate and reduce rake lines, followed by a loop or texture roller before broadcasting.
Aggregate or decorative flakes can be broadcast to rejection into the wet slurry. Once cured, the excess broadcast material is removed and the surface can be scraped before applying an optional topcoat to lock in the aggregate.
Yes. SolidCor 237 is recommended for commercial kitchens, food preparation areas and food and beverage facilities where a durable, seamless and shock-resistant floor is required.
SolidCor 237 is supplied in premeasured kits and the complete kit should be mixed as supplied. Do not divide or modify the components.
Pour Part A into a clean five-gallon mixing pail. When using the separate dry pigment, add the complete pigment bag to Part A and mix for approximately 15 seconds using a low-speed drill and Jiffy-style mixing paddle. Add Part B and mix for a further 15 seconds.
Gradually add the complete bag of blended aggregate and continue mixing for approximately two minutes, or until all aggregate particles are thoroughly wetted and the mixture is uniform. Use slow-speed mixing equipment to avoid introducing excessive air.
Transfer the mixed material into a second clean pail and remix before application. Apply the product immediately after mixing, as the working time is approximately 15 minutes at 77°F.
One standard SolidCor 237 kit typically covers approximately 37–46 square feet at 1/8-inch thickness. Actual coverage will vary depending on the concrete profile, application thickness, surface condition and complete system configuration.
SolidCor 237 is designed for demanding, high-wear commercial and industrial environments exposed to impact, abrasion and heavy use. It has a typical compressive strength of 8,400 psi, a Shore D hardness of approximately 80 and 100% concrete failure during bond-strength testing.
At 77°F, allow approximately 12 hours before light foot traffic, 24 hours before heavy foot traffic and seven days for full cure. Colder temperatures will increase the required cure time.
The concrete must be structurally sound, dry and free from dirt, oil, laitance, coatings and other contaminants. Fine brush blasting or shot blasting is the preferred preparation method. The finished concrete should have an ICRI CSP 3–5 surface profile.
Repair cracks, bug holes and other concrete imperfections before installation, and grind down raised projections. Do not apply SolidCor 237 over cracked or unsound concrete that has not been properly repaired.
Anchoring keyways measuring at least 5/16 inch wide by 5/16 inch deep must be cut at terminations, joints, columns, doorways and drains to help prevent lifting and delamination.
A primer is not normally required when SolidCor 237 is installed over properly prepared concrete. If concrete outgassing occurs, stop the installation and apply a suitable primer before continuing.
Typical finished installations range from approximately 1/8 to 3/16 inch, depending on the condition of the concrete, the broadcast material and the selected topcoat system. SolidCor 237 should not be feather-edged.
Yes. Aggregate or decorative flakes can be broadcast into the wet slurry. The surface should be broadcast until no wet areas remain. Once cured, remove the excess material and scrape the floor as required before applying an optional topcoat.
A topcoat is optional and depends on the required finish and complete flooring system. When aggregate or decorative flakes are broadcast into the slurry, a suitable topcoat can be applied to lock the broadcast material into the surface.
The published heat resistance is up to 200°F. SolidCor 237 can withstand higher heat exposure than typical unmodified urethanes and has good thermal shock capabilities. However, high heat may discolor the surface, and chemical exposure at elevated temperatures should be evaluated before installation.
The Strength of Diamond. The Confidence of a Lifetime.
Dymond Coatings are engineered with the same qualities as their namesake — tough, long-lasting, and built to bond for life. That’s why we back every eligible Dymond kit with our Lifetime Promise: if your floor fails due to a verified product defect, we’ll replace the material or issue a credit toward your next job. This warranty applies to complete Dymond systems (primer, base coat, and topcoat) when installed on indoor concrete surfaces and applied according to Dymond’s preparation and application guidelines. Covered issues include delamination caused by faulty resin blends, curing failure due to batch defects, and contamination introduced during manufacturing or packaging. To qualify, the product must be within shelf life, used under proper storage conditions, and installed using only Dymond components.
This warranty does not extend to issues arising from improper surface preparation, substrate contamination, excessive moisture vapor, impact or abuse, substrate movement, or UV discoloration of white/light epoxies. Installations over wood, tile, or outdoor surfaces are excluded unless specifically approved. Cosmetic issues such as texture variation, microbubbling, or minor tint shift are not covered. Warranty coverage is limited to the original purchaser and is non-transferable. Claims must be submitted with photographic evidence of each install stage and full batch documentation. Dymond reserves the right to determine whether the cause of failure falls within warranty scope.
This Promise applies to most DIY and light commercial indoor projects. Larger commercial and industrial installations may be eligible for custom coverage — contact us for terms.
Yes, in many cases, but the floor underneath has to be clean, solid, and mechanically prepared. The coating can only bond as well as the surface it is applied to.
Every floor is different. When coating over anything other than properly prepared concrete, we strongly recommend applying a small test area first.
This system is designed to bond to properly prepared concrete. The concrete must be clean, dry, sound, and mechanically ground or shot blasted.


This system can be installed over an existing epoxy coating if the old coating is firmly bonded, clean, sound, and fully deglossed.


Can be installed when tile is firmly bonded, clean, degreased, abraded, and tested first. Installation is done at your own risk.


Many customers successfully coat over VCT, but the bond depends on tile, adhesive, waxes, moisture, and movement. Installation is at your own risk.


Requires a scratch coat first. Wood installations are done at your own risk. Always test first.
For a strong bond, the surface must be mechanically prepared. Cleaning alone is not enough.
The floor must be mechanically ground or shot blasted to create a surface profile the coating can grip.
Oil, grease, wax, soap residue, dust, old adhesive, sealers, and loose material must be removed before coating.
Cracks, holes, divots, and damaged areas should be filled before coating for a stronger, smoother finish.
For tile, VCT, wood, unknown coatings, sealed floors, or questionable surfaces, apply a small test area.
Yes. For a strong bond, the coating needs a clean, mechanically prepared surface profile.
Delamination is when the coating separates, peels, bubbles, or lifts from the floor underneath.
Often yes, if the existing coating is fully bonded, clean, sound, abraded, and tested first.
Sometimes, but the installation depends on the tile, adhesive, waxes, movement, and moisture. Test first.
Wood is conditional and normally needs a scratch coat. Always test first.
Tile can be conditional. It must be firmly bonded, cleaned, abraded, and tested before a full installation.
Every floor is different. If you are coating over tile, VCT, wood, an unknown coating, sealed concrete, or a questionable surface, apply a small test area first before installing the full system.
The coating can only perform as well as the surface underneath it.
Ask it here. Our product experts are ready and happy to help with any questions you have.
Pro Tip: Always read the full Installation Guide and Product Data Sheets before starting your project. Proper prep is the key to a long-lasting, beautiful floor.