Bare Concrete
Best SurfaceThis system is designed to bond to properly prepared concrete. The concrete must be clean, dry, sound, and mechanically ground or shot blasted.
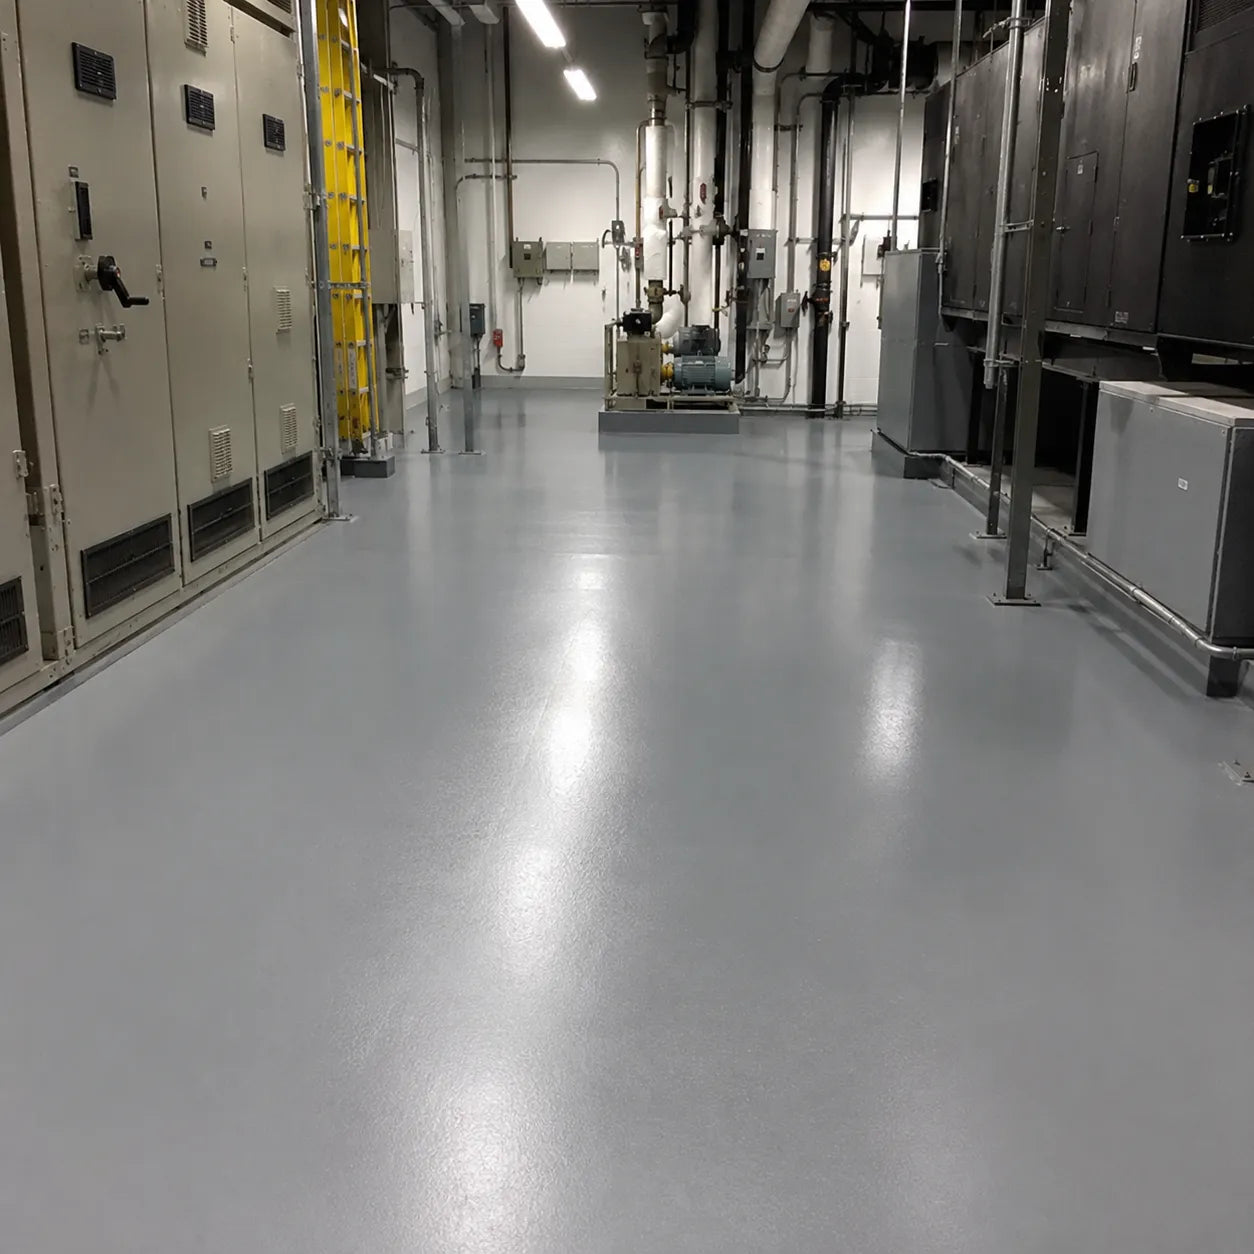
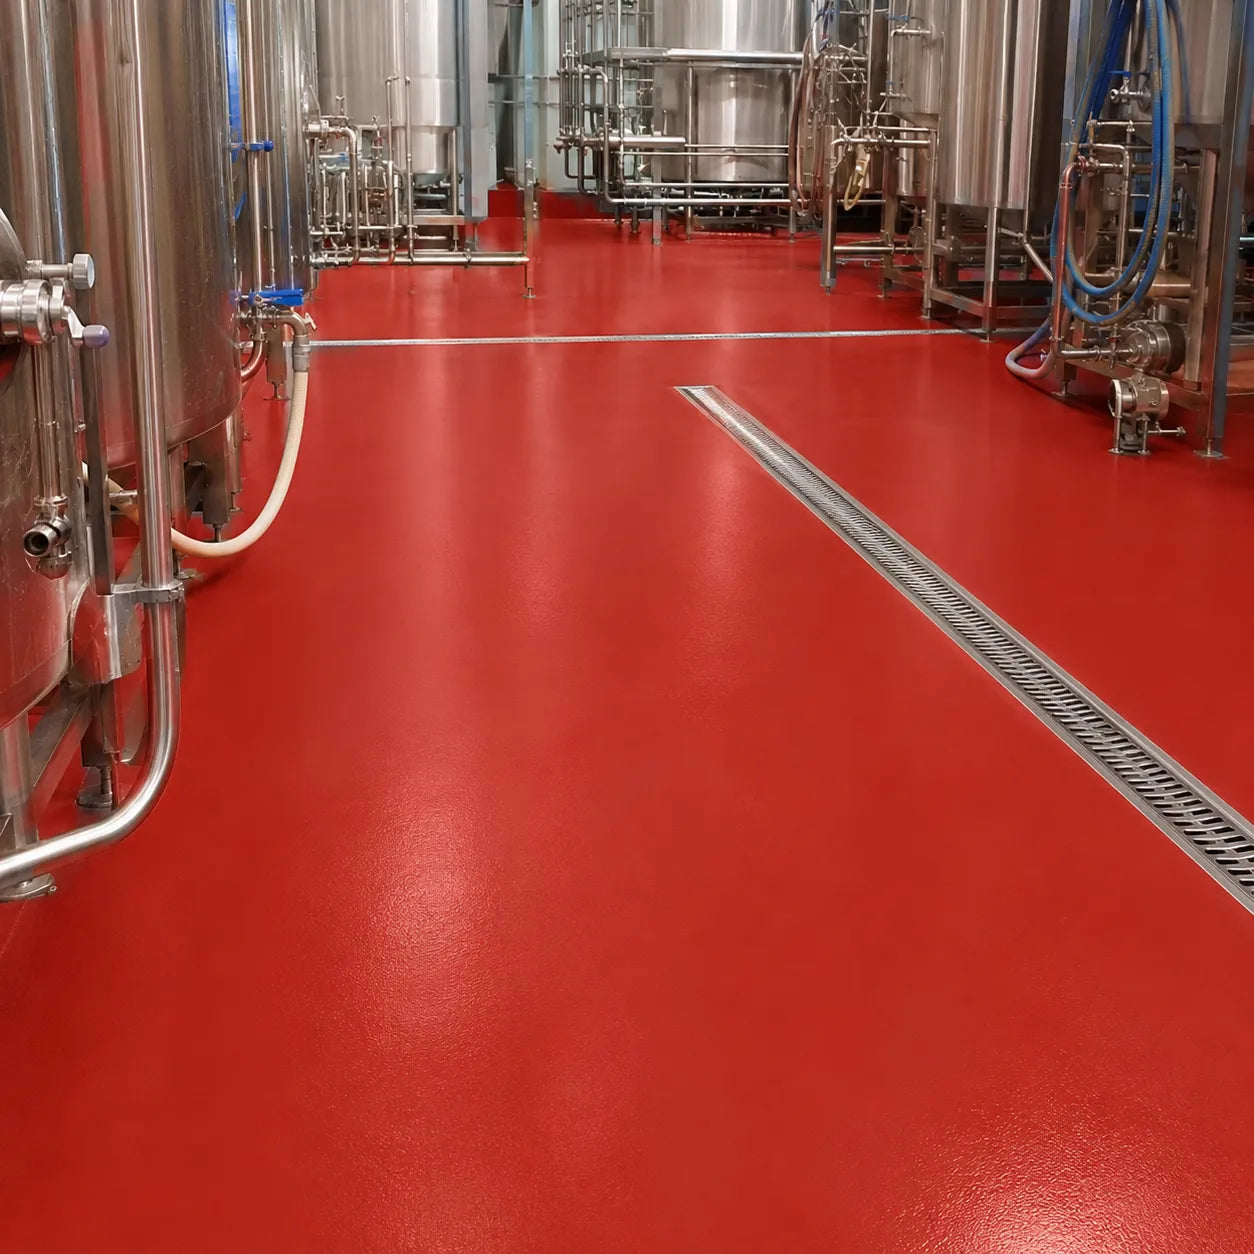

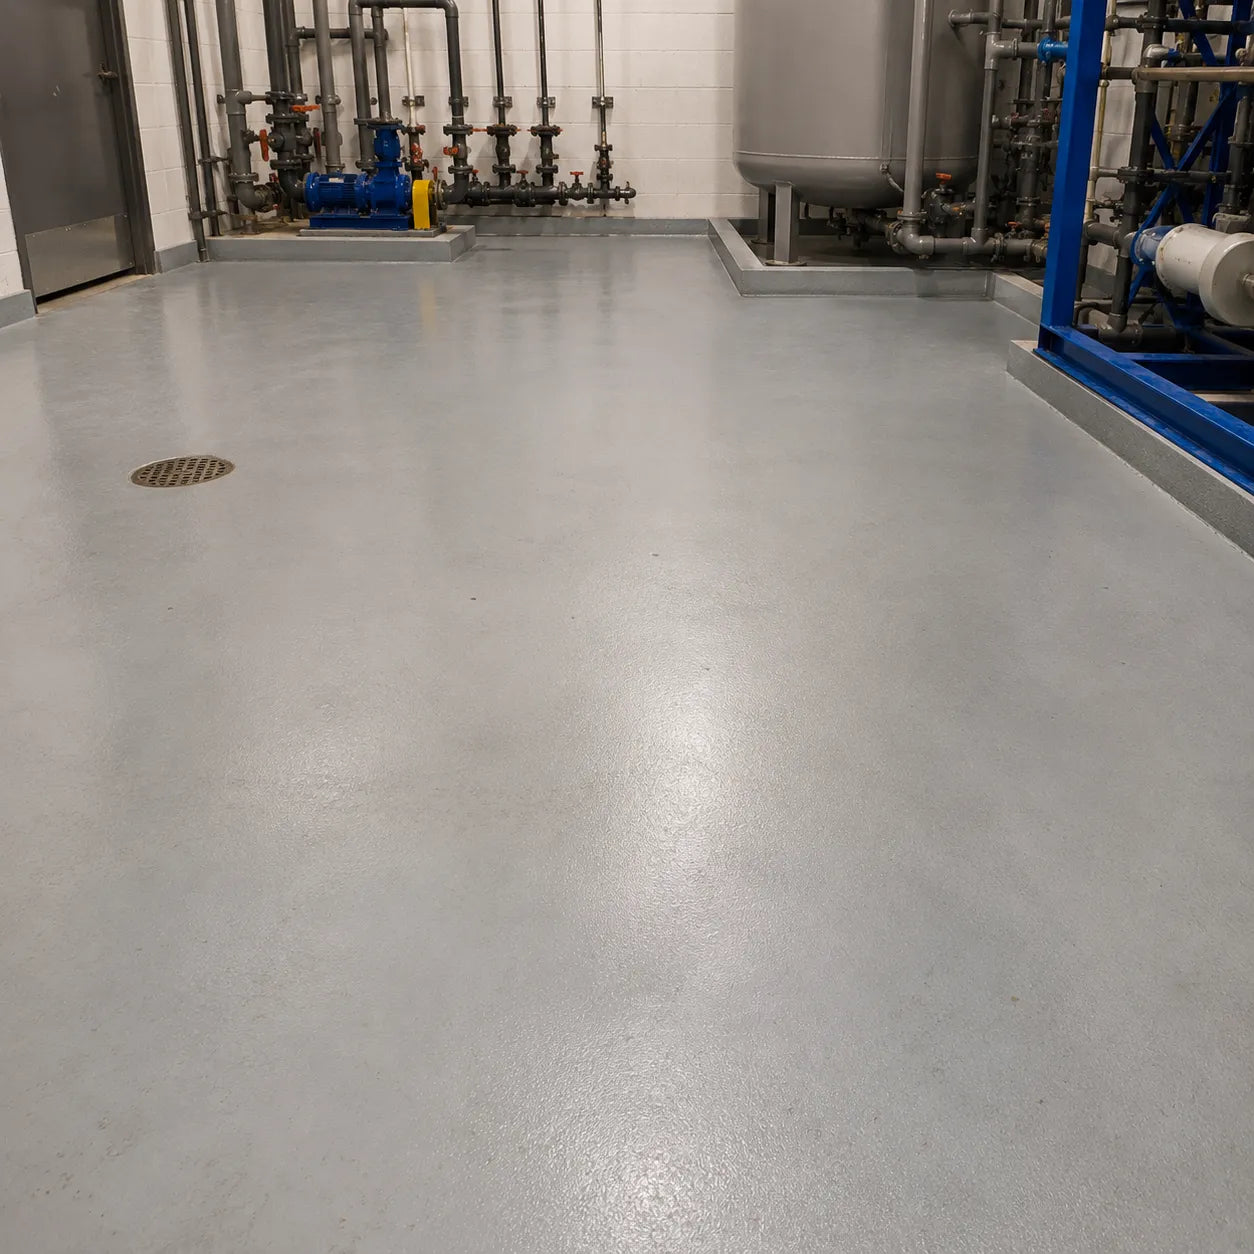


“We do a lot of food prep areas and this stuff holds up. No grease stains, no peeling. Reliable every time.”
Fast 3–5 Business Day Delivery Direct To Site
Mixed Fresh in the USA - Guaranteed to Perform
Dymond SolidCor 230 is a two-component, high-solids novolac epoxy coating engineered for severe chemical-service environments where acids, caustics, solvents and aggressive industrial chemicals may be present. Applied as a high-build finish coat, it creates a dense, durable and highly chemical-resistant surface over properly prepared and primed concrete, masonry or brick.
SolidCor 230 is designed for demanding industrial areas where ordinary epoxy coatings may not provide sufficient resistance. Its hard, abrasion-resistant finish makes it suitable for traffic areas, chemical troughs, curbs, tanks, containment zones and spill-prone processing environments.
SolidCor 230 is designed for exposure to a wide range of aggressive chemicals. Published testing includes long-term immersion resistance to 10% and 50% sodium hydroxide and 10% sulfuric acid, together with strong resistance to hydrochloric acid, acetic acid, xylene, solvents and other industrial chemicals.
Chemical performance depends on the chemical concentration, temperature, exposure duration, cleaning procedures and the complete flooring system. Confirm suitability for critical applications before installation.
Dymond BondMaxx 140 Novolac Primer is the recommended primer beneath SolidCor 230. The primer helps seal porous substrates, improve adhesion and reduce outgassing before the high-build novolac finish is applied.
SolidCor 230 is intended to serve as the final chemical-resistant coating, and an additional topcoat is not normally recommended.
The substrate must be clean, dry, sound and mechanically prepared. Remove all dirt, oil, laitance, coatings and other contaminants that could interfere with adhesion. Shot blasting is generally the preferred preparation method for high-build industrial systems.
Prime the prepared substrate with BondMaxx 140 and allow it to reach the correct recoat stage. Combine Part A and Part B at the specified ratio and mix thoroughly using slow-speed mixing equipment until the material is uniform and streak-free. Transfer the mixed material into a clean pail and remix before application.
Apply SolidCor 230 by serrated squeegee, roller or other suitable equipment at the recommended 16 to 18 mil thickness. Maintain a wet edge and apply consistently to avoid uneven color or texture. Use an air-release roller where required to help remove entrapped air.
Important: Apply only when the substrate temperature is at least 5°F above the dew point. New concrete must be properly cured before coating. SolidCor 230 is not UV color stable and may discolor in direct sunlight or under some lighting conditions. Refer to the Technical Data Sheet and Safety Data Sheet before use.
The Strength of Diamond. The Confidence of a Lifetime.
Dymond Coatings are engineered with the same qualities as their namesake — tough, long-lasting, and built to bond for life. That’s why we back every eligible Dymond kit with our Lifetime Promise: if your floor fails due to a verified product defect, we’ll replace the material or issue a credit toward your next job. This warranty applies to complete Dymond systems (primer, base coat, and topcoat) when installed on indoor concrete surfaces and applied according to Dymond’s preparation and application guidelines. Covered issues include delamination caused by faulty resin blends, curing failure due to batch defects, and contamination introduced during manufacturing or packaging. To qualify, the product must be within shelf life, used under proper storage conditions, and installed using only Dymond components.
This warranty does not extend to issues arising from improper surface preparation, substrate contamination, excessive moisture vapor, impact or abuse, substrate movement, or UV discoloration of white/light epoxies. Installations over wood, tile, or outdoor surfaces are excluded unless specifically approved. Cosmetic issues such as texture variation, microbubbling, or minor tint shift are not covered. Warranty coverage is limited to the original purchaser and is non-transferable. Claims must be submitted with photographic evidence of each install stage and full batch documentation. Dymond reserves the right to determine whether the cause of failure falls within warranty scope.
This Promise applies to most DIY and light commercial indoor projects. Larger commercial and industrial installations may be eligible for custom coverage — contact us for terms.
Yes, in many cases, but the floor underneath has to be clean, solid, and mechanically prepared. The coating can only bond as well as the surface it is applied to.
Every floor is different. When coating over anything other than properly prepared concrete, we strongly recommend applying a small test area first.
This system is designed to bond to properly prepared concrete. The concrete must be clean, dry, sound, and mechanically ground or shot blasted.


This system can be installed over an existing epoxy coating if the old coating is firmly bonded, clean, sound, and fully deglossed.


Can be installed when tile is firmly bonded, clean, degreased, abraded, and tested first. Installation is done at your own risk.


Many customers successfully coat over VCT, but the bond depends on tile, adhesive, waxes, moisture, and movement. Installation is at your own risk.


Requires a scratch coat first. Wood installations are done at your own risk. Always test first.
For a strong bond, the surface must be mechanically prepared. Cleaning alone is not enough.
The floor must be mechanically ground or shot blasted to create a surface profile the coating can grip.
Oil, grease, wax, soap residue, dust, old adhesive, sealers, and loose material must be removed before coating.
Cracks, holes, divots, and damaged areas should be filled before coating for a stronger, smoother finish.
For tile, VCT, wood, unknown coatings, sealed floors, or questionable surfaces, apply a small test area.
Yes. For a strong bond, the coating needs a clean, mechanically prepared surface profile.
Delamination is when the coating separates, peels, bubbles, or lifts from the floor underneath.
Often yes, if the existing coating is fully bonded, clean, sound, abraded, and tested first.
Sometimes, but the installation depends on the tile, adhesive, waxes, movement, and moisture. Test first.
Wood is conditional and normally needs a scratch coat. Always test first.
Tile can be conditional. It must be firmly bonded, cleaned, abraded, and tested before a full installation.
Every floor is different. If you are coating over tile, VCT, wood, an unknown coating, sealed concrete, or a questionable surface, apply a small test area first before installing the full system.
The coating can only perform as well as the surface underneath it.
Ask it here. Our product experts are ready and happy to help with any questions you have.
Pro Tip: Always read the full Installation Guide and Product Data Sheets before starting your project. Proper prep is the key to a long-lasting, beautiful floor.