BondMaxx 115 Flexible Primer

Sale price $73.74
Size: Sample
Color: Mortar Light Gray
Use this to estimate based on your floor size.
sold in last hours
In stock
Add to Wishlist
β˜… β˜… β˜… β˜… β˜…
β€œProduct arrived quick, mixed exactly as described, and came out looking perfect. Hard to beat that.”
Shawn W. – Verified Buyer

Fast 3–5 Business Day Delivery Direct To Site

Mixed Fresh in the USA - Guaranteed to Perform

BondMaxx 115 Flexible Primer

BondMaxx 115 Flexible Primer

Dymond BondMaxx 115 is a high-performance, two-component 100% solids epoxy broadcast primer designed for sealing traffic surfaces exposed to vehicular or foot traffic. With exceptional toughness and up to 60% elongation, it helps bridge hairline cracks and builds a durable basecoat for broadcast systems prior to epoxy mortars and other compatible topcoats.

Key Benefits

  • 100% solids, zero VOC epoxy broadcast primer
  • Flexible crack-bridging performance (helps eliminate hairline crack repairs)
  • Designed for traffic surfaces exposed to vehicles or foot traffic
  • Wide build range for broadcast applications (10–50 mils)
  • Excellent abrasion resistance and strong adhesion to properly prepared concrete

Recommended Uses

  • Broadcast basecoat / primer coat prior to epoxy mortars
  • Crack-bridging sealer in a broadcast system before topcoating
  • Priming concrete surfaces prior to suitable high-performance toppings

Technical Data

  • Solids by volume: 100% (+/- 1%)
  • VOC: 0 lb/gal
  • Color: Clear (Gardner 3–4)
  • Mix ratio: 1:1 by volume (by weight: 9.2 lb Part A to 8.2 lb Part B)
  • Recommended film thickness: 10–50 mils
  • Coverage: 32–160 sq. ft. per gallon @ 10–50 mils
  • Pack sizes: 2 gallon kit, 10 gallon kits (approx.)
  • Application temperature: 60Β°F–90Β°F (RH below 85%)
  • Cure time (70Β°F):
    • Pot life (2 gallon volume): 15–25 minutes
    • Tack-free: 5–8 hours
    • Recoat/topcoat: 8–12 hours
    • Light foot traffic: 12–24 hours
    • Full cure (heavy traffic): 2–7 days

Topcoat guidance: After broadcasting aggregate into BondMaxx 115, many suitable toppings can be used, including epoxy mortars, two-component urethanes, and novolac coatings. BondMaxx 115 is intended as a broadcast primer (not a decorative wear coat), and a broadcast application with a subsequent topcoat system is recommended.

For detailed installation & mixing instructions, click here.

1) PRODUCT
STORAGE:
Store product in an area so as to bring the material to normal room temperature before using. Continuous storage should be between 60 and 90 degree F.Β 
Low temperatures or temperature fluctuations may cause crystallization.

2) SURFACE PREPARATION:Β Β  The most suitable surface preparation would be a fine brush blast (shot blast) to remove all laitance and provide a suitable profile.Β  All dirt, foreign contaminants, oil, and laitance must be removed to assure a trouble free bond to the substrate.Β  A test should be made
to determine that the concrete is dry; this can be done by placing a 4’X4’ plastic sheet on the substrate and taping down the edges.Β  If after 24 hours, the substrate is still dry below the plastic sheet, then the substrate is dry enough to start coating.Β 

3) PRODUCT MIXING:Β  This product has a mix ratio of 9.2# part A to 8.2# part B or one part A to one part B by volume.Β  Standard
packages are in pre-measured kits and should be mixed as supplied in the kit.Β  We highly recommend that the kits not be
broken down unless suitable weighing equipment is available.Β  After the two parts are combined, mix well with slow speed mixing equipment such as a jiffy mixer until the material is thoroughly mixed and streak free.

4) PRIMING:Β Β  Primers may be beneficial in some applications, dependent on performance characteristics and substrate condition, but none are required for product application.

5) PRODUCT APPLICATION:Β  The mixed material can be applied by brush or roller.Β  However, the material can also be applied by a suitable serrated squeegee and then back rolled as long as the
appropriate thickness recommendations are maintained.Β  Because this material has a short pot life, it is beneficial in some applications to remove the material from the mixing pail by pouring the material onto the substrate and spreading it along the
floor.Β  Spreading out the material will allow the applicator more time to work with the material before it begins to cure.Β  Aggregate should be broadcast into the applied material before applying suitable topcoats.Β  Maintain temperatures and relative humidity
within the recommended ranges during the application and curing process.Β  If concrete conditions or over aggressive
mixing causes air entrapment, then an air release roller tool should be used prior to the coating tacking off to remove the air entrapped in the coating.
When using as a broadcast binder, always evaluate performance parameters with a test area which is dependent on aggregate size and thickness, prior to application.Β  Contact your representative
for details as necessary.

6) RECOAT OR TOPCOATING:Β Β  We recommend a suitable topcoat be applied only after broadcasting suitable aggregate into the basecoat.Β  If you recoat or topcoat this product, you must first be sure that the coating has tacked off before recoating.Β  All previous coats that were not applied as a broadcast, should be deglossed to insure a trouble free bond prior to application of recoats or topcoats.Β  It is advisable to test topcoats for suitability prior to application when not in a broadcast system.Β  Colder temperatures
will require more cure time for the product before recoating or topcoating can commence.Β  Before recoating or topcoating, check for epoxy blushes (a whitish, greasy film, or deglossing.)Β  If a blush is present, it can be removed by any standard detergent, cleaner prior to topcoating or recoating.Β  Many epoxy coatings and urethanes as well as multiple coats of this product are compatible for use.

7) CLEANUP: Use xylol

8) FLOOR CLEANING: Caution! Some cleaners may affect the color of the floor installed. Test each cleaner in a small area. If
no ill effects are noted, you can continue to clean with the product and process tested.

9) RESTRICTIONS: Restrict the use of the floor to light traffic and
non-harsh chemicals until the coating is fully cured (see technical data under full cure). It is best to let the floor remain dry for the full cure cycle.
Dependent on actual complete system application, surface may be slippery, especially when wet or contaminated; keep surface clean and dry.

The Strength of Diamond. The Confidence of a Lifetime.

Dymond Coatings are engineered with the same qualities as their namesake β€” tough, long-lasting, and built to bond for life. That’s why we back every eligible Dymond kit with our Lifetime Promise: if your floor fails due to a verified product defect, we’ll replace the material or issue a credit toward your next job. This warranty applies to complete Dymond systems (primer, base coat, and topcoat) when installed on indoor concrete surfaces and applied according to Dymond’s preparation and application guidelines. Covered issues include delamination caused by faulty resin blends, curing failure due to batch defects, and contamination introduced during manufacturing or packaging. To qualify, the product must be within shelf life, used under proper storage conditions, and installed using only Dymond components.

This warranty does not extend to issues arising from improper surface preparation, substrate contamination, excessive moisture vapor, impact or abuse, substrate movement, or UV discoloration of white/light epoxies. Installations over wood, tile, or outdoor surfaces are excluded unless specifically approved. Cosmetic issues such as texture variation, microbubbling, or minor tint shift are not covered. Warranty coverage is limited to the original purchaser and is non-transferable. Claims must be submitted with photographic evidence of each install stage and full batch documentation. Dymond reserves the right to determine whether the cause of failure falls within warranty scope.

This Promise applies to most DIY and light commercial indoor projects. Larger commercial and industrial installations may be eligible for custom coverage β€” contact us for terms.

Can This Be Installed Over My Existing Floor?

Yes, in many cases, but the floor underneath has to be clean, solid, and mechanically prepared. The coating can only bond as well as the surface it is applied to.

Every floor is different. When coating over anything other than properly prepared concrete, we strongly recommend applying a small test area first.

Bare Concrete

Best Surface

This system is designed to bond to properly prepared concrete. The concrete must be clean, dry, sound, and mechanically ground or shot blasted.
Existing Epoxy

Good With Prep

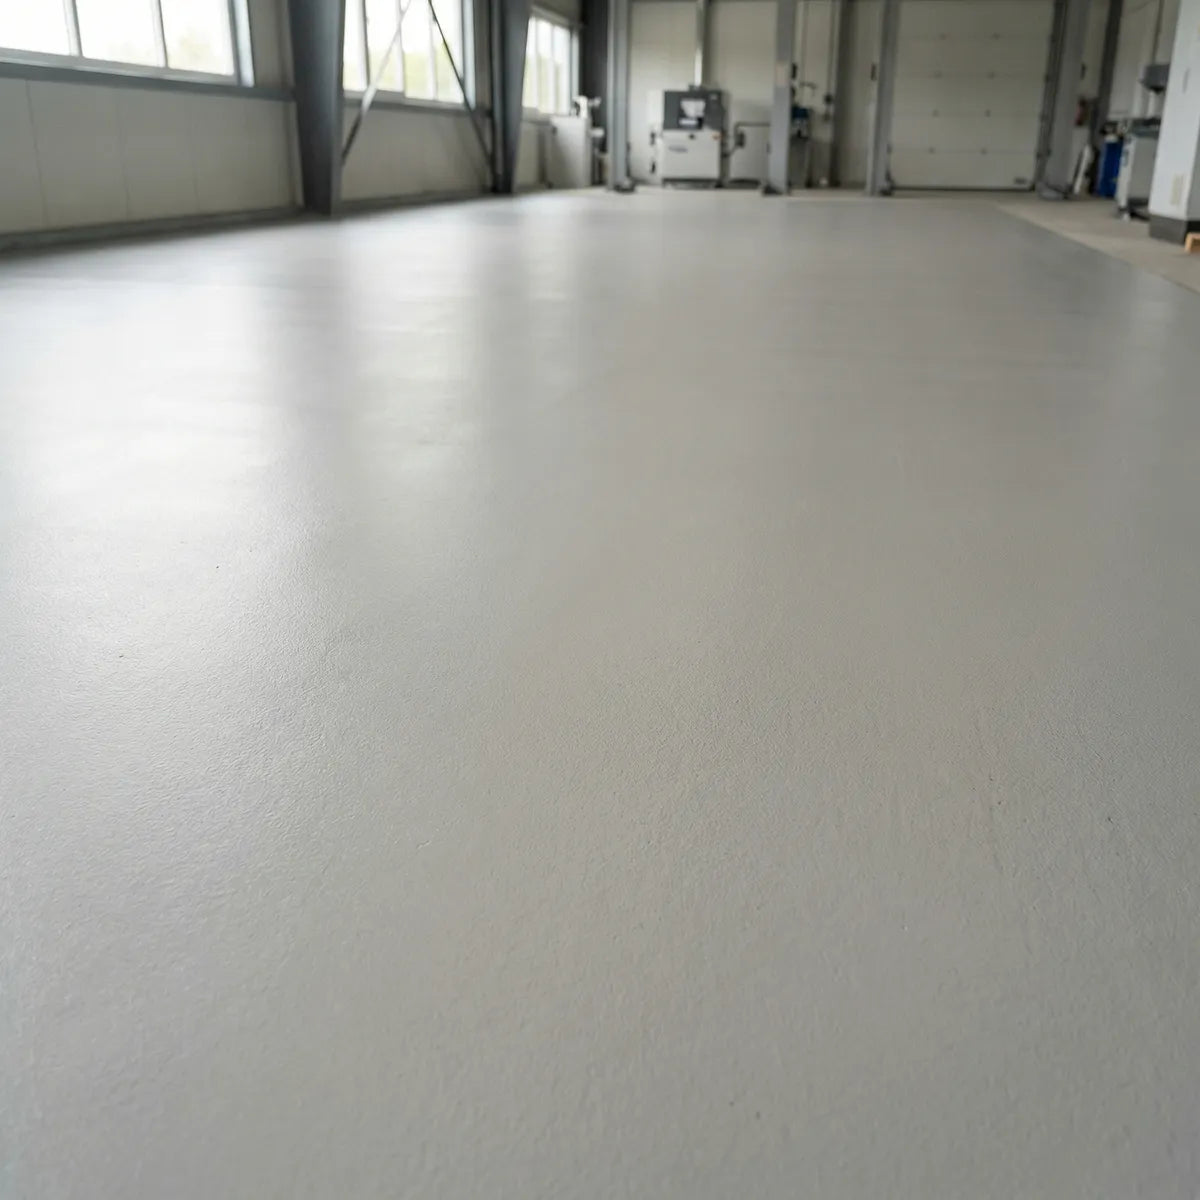
This system can be installed over an existing epoxy coating if the old coating is firmly bonded, clean, sound, and fully deglossed.

Tile

Conditional / Test First

Can be installed when tile is firmly bonded, clean, degreased, abraded, and tested first. Installation is done at your own risk.

VCT Tile

Conditional / Test First

Many customers successfully coat over VCT, but the bond depends on tile, adhesive, waxes, moisture, and movement. Installation is at your own risk.

Wood

Conditional / Scratch Coat

Requires a scratch coat first. Wood installations are done at your own risk. Always test first.

Required Surface Prep

For a strong bond, the surface must be mechanically prepared. Cleaning alone is not enough.

1

Grind or Shot Blast

The floor must be mechanically ground or shot blasted to create a surface profile the coating can grip.

2

Remove Contamination

Oil, grease, wax, soap residue, dust, old adhesive, sealers, and loose material must be removed before coating.

3

Repair Cracks & Defects

Cracks, holes, divots, and damaged areas should be filled before coating for a stronger, smoother finish.

4

Test First When Unsure

For tile, VCT, wood, unknown coatings, sealed floors, or questionable surfaces, apply a small test area.

Installation Questions We Get Every Week

Click any question to expand
? Does the floor need to be ground?

Yes. For a strong bond, the coating needs a clean, mechanically prepared surface profile.

? What does delamination mean?

Delamination is when the coating separates, peels, bubbles, or lifts from the floor underneath.

? Can this be installed over an existing epoxy?

Often yes, if the existing coating is fully bonded, clean, sound, abraded, and tested first.

? Can this be installed over VCT tile?

Sometimes, but the installation depends on the tile, adhesive, waxes, movement, and moisture. Test first.

? Can this be installed over wood?

Wood is conditional and normally needs a scratch coat. Always test first.

? Can this be installed over tile?

Tile can be conditional. It must be firmly bonded, cleaned, abraded, and tested before a full installation.

OK

Still Not Sure? Test Before You Coat.

Every floor is different. If you are coating over tile, VCT, wood, an unknown coating, sealed concrete, or a questionable surface, apply a small test area first before installing the full system.

The coating can only perform as well as the surface underneath it.

...

Have a Question We Haven't Answered?

Ask it here. Our product experts are ready and happy to help with any questions you have.

Submit My Question
i

Pro Tip: Always read the full Installation Guide and Product Data Sheets before starting your project. Proper prep is the key to a long-lasting, beautiful floor.